Summary
Shift Templates are used to apply regular shift assignments to a group of Resources for a set period of time. Shift Templates let users build out scenarios then with one-click (Apply Template) and schedule their teams without ever having to load the shift assignment grid. This article will walk you through how to create a Shift Template, how to add Resources with assigned Shifts to the Template, applying Saved Templates to Resource(s), and how to edit an existing Shift Template and its attributes. Remember, shift assignment can also be done directly within the Scheduler, which may be easier to manage for some users.
Note: Please see the Assigning Shifts to Resources and the Creating new shift assignments from the Scheduler articles to learn how to use Shift Assignment to create or modify Shifts
- From the home page, click on Resources > Shift Assignment on the left hand menu
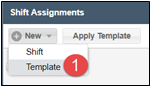
- Click the
 button at the top left of the Shift Assignments Grid. Select Template to open up the Shift Template pop-up window
- Fill in the mandatory fields to include the name, the number of weeks that Shifts will last and the day of the week to start. You should also include System Division, Department and Shift Group, if one has been created
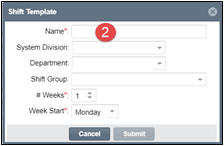
- Click Submit to save the Template
- From the home page, click on Resources > Shift Assignment on the left hand menu
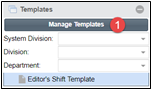
- Click
 at the bottom of the right-wing menu to create new, delete or modify an existing Shift Template. This will open the Manage Templates window
- Click the
 at the top right hand corner

- Choose the template attributes you want to include. The Template name and at least 1 week of Shifts is required
- Click Save to save the Template
- Click
 to close the Manage Shift Templates window
 - These new templates will be listed below the Manage Templates filter by groups on the bottom right-wing menu
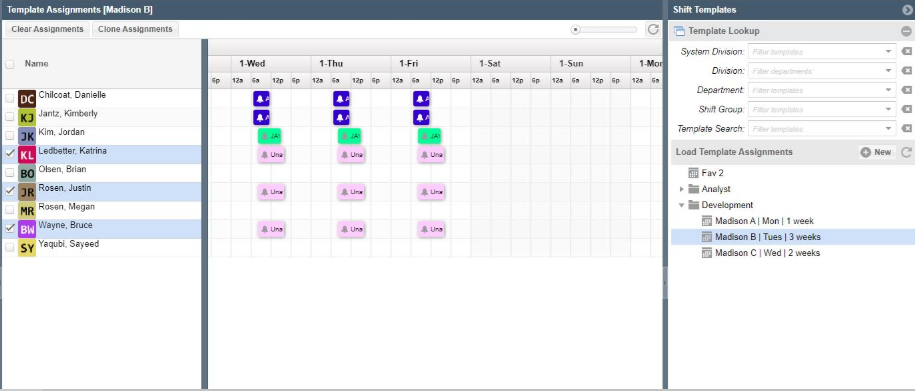
From the Resources > Shift Assignments grid, you will be able to search for existing shift templates, add new templates from which you can create shift assignments in the future.
To load a shift template assignment, just double-click on the Load Template Assignments in the right-hand wing to load it into the calendar view. From there you can further manipulate the Resources, timings, and more.
- From the home page, click on Resources > Shift Assignment on the left hand menu
- In the Manage Templates filter at the bottom of the right-wing menu, click on the template you want to use from the list of templates
- A blank Template will load into the Shift Assignments grid
- In the right-wing menu change the Assignment Filter to No Filter to load all current Resources into the Shift Assignments grid

- Search and load your selected Resources into the Shift Assignments grid (you can use saved search, favorites, position, names, etc)
- Begin assigning shifts to your Resources. See the Assigning Shifts to Resources article for further information on how to assign Shifts to Resources
- Choose days to apply the shifts to
- The Shift Template will autosave with the selected Resources with their assigned Shifts
- Search for Resources to load into the Shift Assignment grid
- Choose desired Display Start date

-
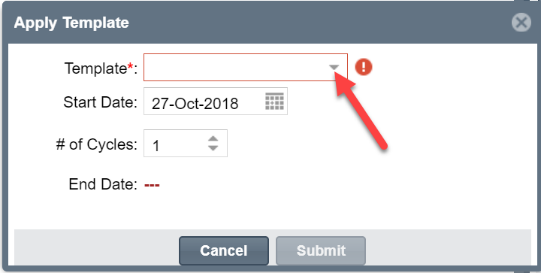
Click Apply Template button to load Shifts for the timeframe indicated in the Template
- Select your Template and fill in the relevant information. Click Submit to save
- Load the Template into the Shifts Assignments Grid
- Click the check box next to the Resource you would like to remove
- Click the Clear Shift Assignments button in the right-wing panel
- Confirm that you want to delete the selected Resource by selecting Yes
- From the home page click on Resources > Shift Assignment on the left hand menu
- Click on Manage Templates in the right-wing menu
- Double-click on any column to edit the Template name or other Template attributes
- Click the Update button to save

Note: Resources who are assigned to a Shift in a Template, will not be assigned to a Shift Assignment until the Shift Template has been applied.
Here are some other useful articles about shift management: