Summary
Elements are anything in ShowMgr that can be scheduled as part of an Order. Most Orders will have at least one bookable Element type and Elements can be booked in various different ways. This article will walk you through how to book Elements via an Order Worksheet, Advanced Add, the Scheduler, Smart Assign, and Generic Bookings
The Order Worksheet is a Driver Tab that allows users to manage Elements booked to an Order.
- Conduct an Order Search. Open the Order to open to the Details Driver
- Click on the Worksheet Driver Tab
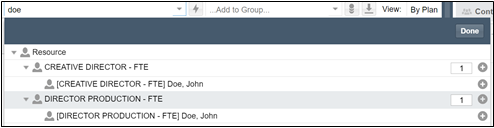
- Click in the Add Booking field to begin searching for the desired Element. Note: to search a specific Booking just type in the name of the Booking. If the Booking is a Resource, just type the name of the Resource to be booked

- Click the (+) sign for the Element you would like to book
- Click Done to load the Booking into the worksheet
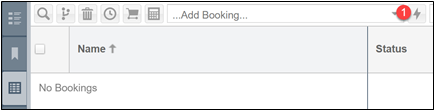
1. Click the lightning bolt icon, next to the Add Booking bar located at the top of the worksheet
2. Search for Elements to add by typing in the Search for Elements to Add field
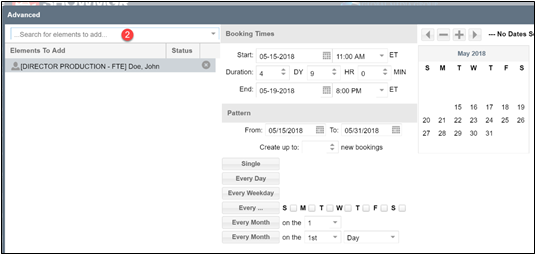
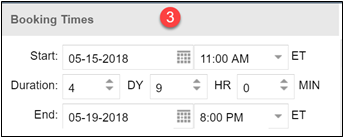
3. Confirm Booking Times, which includes start/end dates and time each day
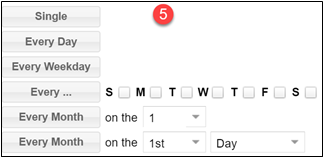
4. Confirm pattern of the Booking for the selected dates

5. Choose the pattern that is applicable
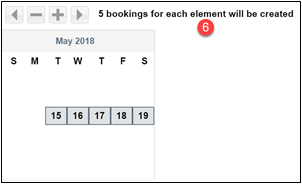
6. Confirm that the Booking dates are highlighted in the calendar
7. Click Submit to return to the worksheet
- Once the Element has been loaded into the Scheduler, click the check box next to the Element you want to book to the Order
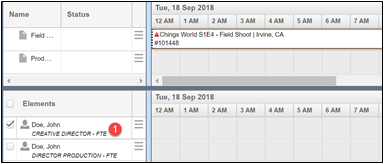
- Drag and drop the Element into the Order that is loaded into the Header
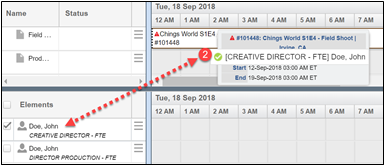
- The Order will then be added to the Element's schedule
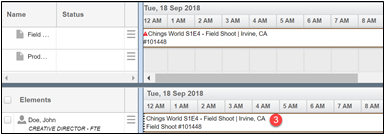
For more information on how to schedule Elements in Scheduler, see our article Schedule Resources and Elements within the Scheduler
- When Orders are loaded into the Scheduler and you click on the Order, the right-wing panel will load with the Order details. Note: The Smart Assign right-wing panels allow you to edit Order details, add Bookings, add Contacts, and add Comments
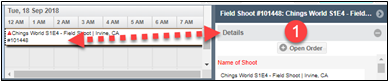
- To add an Element, click in the Add Element field to search for the Element
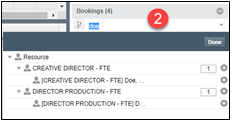
- Click the (+) sign to choose the Element to add
For more information on how to schedule Elements in Scheduler, see our article Schedule Resources and Elements within the Scheduler
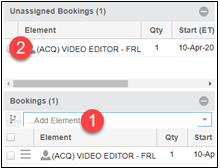
- Search for Generic Booking Type
- Notice that the Generic Booking loads into the Unassigned Bookings. This is a reminder that there is an Assigned Booking on this Order
It is possible to programmatically add generic bookings on order creation for a specific Order Class e.g. automatically book a generic studio facility every time a studio order is created. If you would like to explore this option, please send through your requirements to our team and we can configure it in the settings for you.
Note after this is completed, the checkbox will automatically uncheck on refresh. It is by design. You don't need to worry that your selection isn't saving. You'll see the correct times show up on your Order or in the Scheduler.
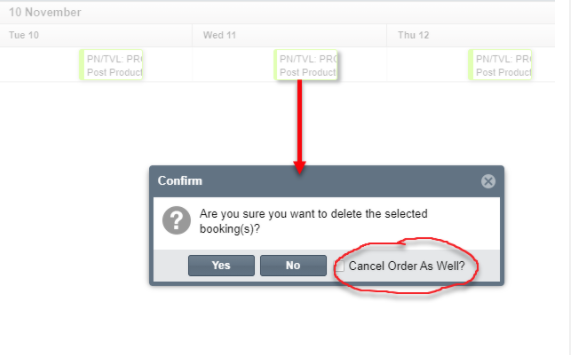
Depending on your status transitions, in most cases you will see a pop-up window asking you to confirm the cancellation. You may also see a checkbox option for Cancel Order As Well. This option will show if all of the bookings selected to delete are on the same order and if Cancelled is a valid option in the Order's status transition. If you have multiple bookings selected and these bookings exist on different orders, then you will not see the Cancel Order As Well feature.