Summary
Assets, an element in ShowMgr, are tangible goods, such as cameras, lights, jib arms, and software. Asset SKU records can be created for assets to help track the quantity of each asset and where each asset is located and can be classified as either serialized or non-serialized. This article introduces you to how asset SKUs are treated in ShowMgr and how to view and modify asset SKU details
SKU records can be created for assets to help track the quantity of each asset and where each asset is located. Bar codes can be used as SKU numbers, which is helpful if you utilize bar codes with your assets and use a bar code scanner.
Asset SKUs can be classified as either serialized or non-serialized:
- Serialized assets: assets that are uniquely identified in your inventory — each asset must have a unique asset code
- Non-serialized assets: assets that are not uniquely identified in your inventory — they are only saved as a quantity on hand.
Note: If an asset is a consumable material, it will be removed from inventory when it is used for an Order (actualized)
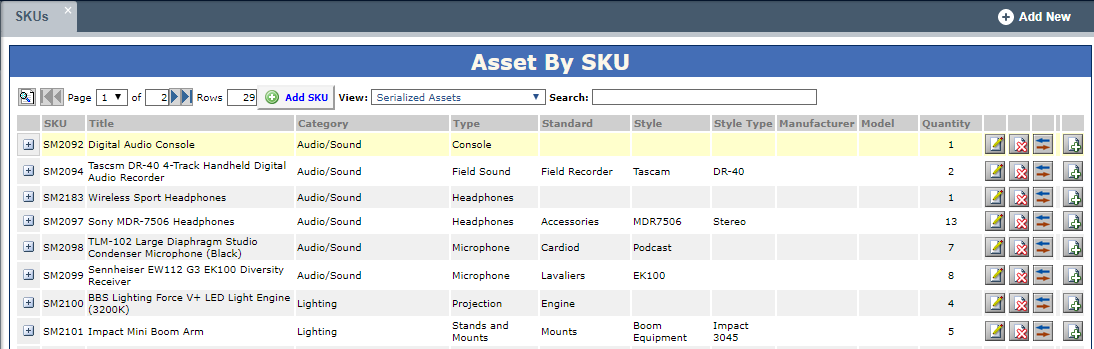
- Click Assets > SKUs from the left hand navigation menu to see the current list of SKUs and the number of assets that exist within that SKU
- Specify if you wish to view serialized or non-serialized assets using the View drop-down arrow at the top menu
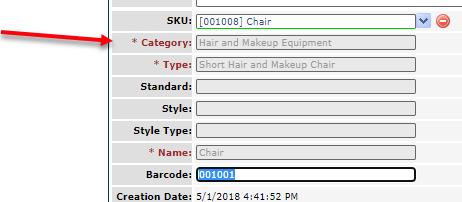
- Double click the asset to see additional details about the asset
- Click Assets > SKUs from the left hand navigation menu to see the current list of SKUs and the number of assets that exist within that SKU
- Filter the list by selecting View: Serialized Assets from the top menu
- Click the Plus
 icon adjacent to an asset SKU to view a list of assets assigned to that asset SKU. You have the option of modifying or deleting assets within that asset SKU
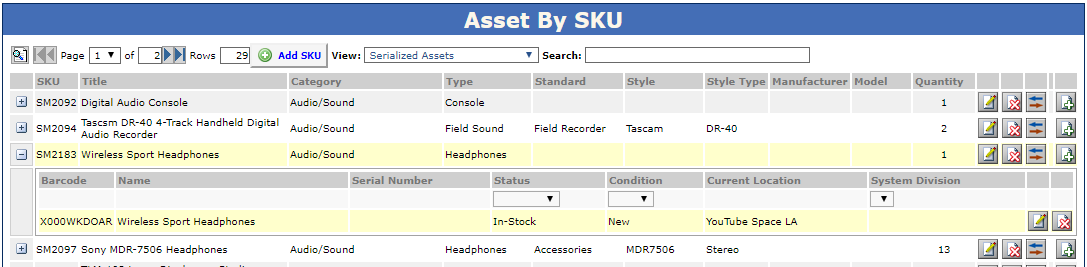
- To view additional details for an asset SKU, or to make changes to an asset SKU, click the Modify
 icon adjacent to the asset SKU
- If there are assets listed that have not been assigned an asset SKU yet, click the Sync Assets
 icon, select the check boxes for the asset(s) you wish to sync, then click the
  icon. The asset(s) is added to the asset SKU
- Click Assets > SKUs from the left hand navigation menu to see the current list of SKUs and the number of assets that exist within that SKU
- Filter the list by selecting View: Non-Serialized Assets from the top menu
- Click the Plus icon adjacent to an asset SKU to view a list of assets assigned to that asset SKU. Here you can modify the Quantity, Minimum, and Reorder Quantity. You can also click the Asset Receiving button next to the asset SKU to add the assets (see the section Asset Receiving below for more information

- To view additional details for an asset SKU, or to make changes to an asset SKU, click the Modify icon adjacent to the asset SKU to open up the SKUs information window
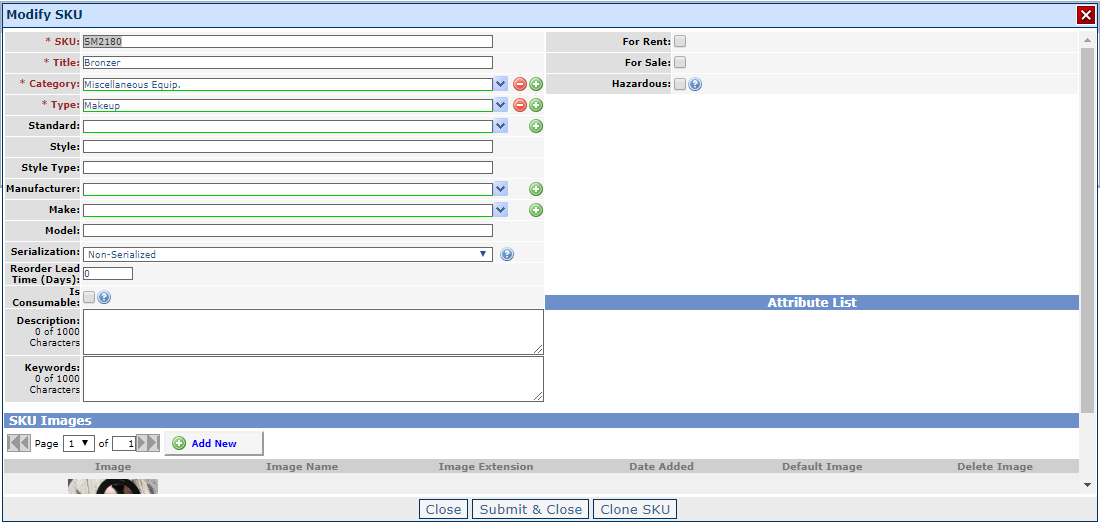
- Click the Add SKU
 button. The Modify SKU dialog box opens
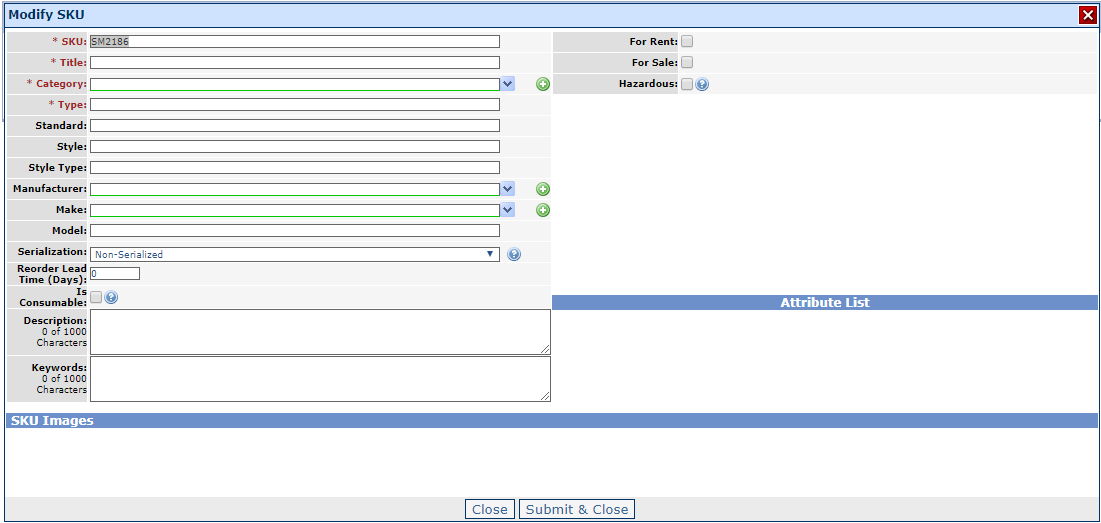
- In the SKU field, you can either use the auto-generated SKU or create one of your own
- Specify if the asset SKU is serialized or non-serialized:
- Serialized assets: individual uniquely identified assets in your inventory — each asset must have a unique asset code
- Non-serialized assets: assets that are not uniquely identified — they are only saved as a quantity on hand
- When you are finished, click Close. You can now assign assets to the new SKU using the Asset Receiving functionality
- Click Assets > SKUs
- Click the Asset Receiving icon adjacent to the SKU you wish to add assets to. The Asset Receiving dialog box opens (note these windows look different for serialized vs non-serialized assets
- Specify the quantity received for the asset and other related details
- Click Submit to save. The asset is added to the asset SKU